null
Close

Site Information

Blog

Hydroboost repair How To Fix Your Leaking Hydro Boost Step by step

Posted by Pirate Jack on

All Years Before 2002 $35


All Years After 2002 $30


This is a universal seal kit meant to repair almost any hydroboost unit produced. Most hydroboost units are manufactured by Bendix and nearly all the seals in the units have remained the same. The pictures below are from a 2005 Chevy 1500 4x4 Truck, however, your unit may look a little different. Note**The meal pieces in the kit are not explained in this repair manual. As you go along through the repair and find any metal pieces that match the ones in the kit please match up and replace as necessary. Be very careful with these pieces as you may have to reuse a metal piece if not included in the kit. We do not have any other parts other than what is provided in the kit so make sure you are working in an environment where you can find small pieces if you drop them. We are also including the manufacturers installation instructions that follow step by step procedures from Bendix but don't offer the pictures here in this sheet. If you have any questions regarding the installation or need help please let us know so we can help. Remember this install sheet for reference only. Your unit may look different but the steps should be about thesame.

How To: Hydroboost Rebuild


Do you have power steering fluid leaking from the weep hole where the hydroboost unit bolts to the brake master cylinder? This kit is sure to fix it!

Before you begin unbolting anything from the hydroboost, with your truck turned off, apply the brake pedal fully a few times. This depletes any reserve pressure from the accumulator.

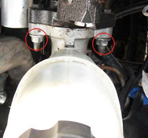
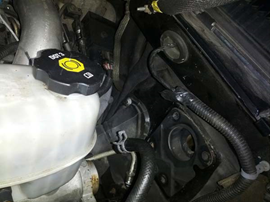
Disconnect the brake master cylinder from the hydroboost unit by removing these two nuts. I use a 15mm wrench:


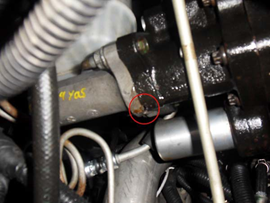
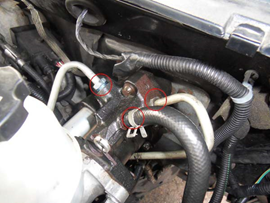
Here you can either just crack these connections loose, or completely disconnect them. The steel lines can be tight if they have never been removed before. You'll want some rags/paper towels as these three lines will leak some fluid when they're disconnected.

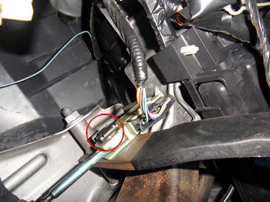
Now move into the cab and look where the brake pedal connects to the hydroboost. There are 4 nuts to remove. The threaded stems are long so you'll need a 15mm deep socket.


Look straight up at the end of the brake pedal and find the metal clip to remove. I use a flathead screwdriver to to pry it over top of the pin, then slide it off.


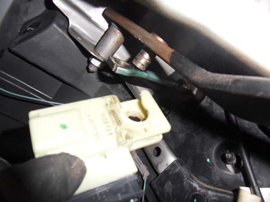
Once that clip is off, you can simultaneously slide the electrical connector and the hydroboost rod off of the brake pedal.

Now from the engine bay, you can pull the hydroboost unit away from the firewall. You'll have to push the brake master cylinder out of the way. I pulled up on it slightly and pushed it towards the fuse box, while pushing the hydroboost towards the engine and pulling away from the firewall. Once the t readed studs were out of t e firewall, twisting the hydroboost counter-clockwise 90 degrees helped to get around the other obstacles in the engine bay. It should come out without too muchhassle.

Take the unit somewhere decently clean to work on. You're dealing with hydraulics and parts that have tight machining tolerances. You don't want dirt/debris getting into the unit.


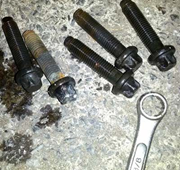
If you have the appropriate Torx socket, use it. Otherwise, use a 12-point 3/8" box end wrench to remove the 5 "star-shaped" bolts. These can be fairly snug. I had to tap on my wrench with a hammer to crack them loose.


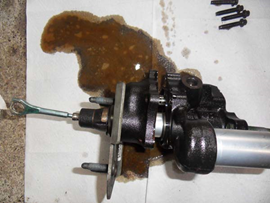
Once it starts opening up, a good bit of fluid trapped inside the unit will spill out. So prepare with paper towels or whatever you use to soak up the mess.


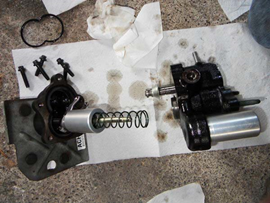
Be cautious of any parts springing out. Here is the unit in halves:

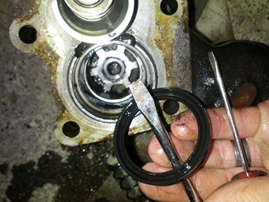
Take the half on the right, and look into this hole. About 2 inches in is the bad seal and all you can see is the inside lip of it.


I use two small flathead screwdrivers to get the seal out. You dont need to be gentle on the seal since you have a new one, but be gentle on the housing as to not scratch or ding it up. ** If you scratch anything inside your unit will never seal and leak forever!

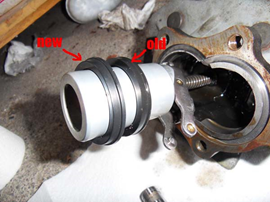
Just to check, I slid both old and new seals onto the piston to see if I could feel a difference. The new one thankfully fit much more snug and felt solid!


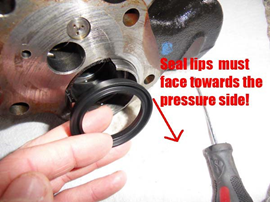
Install the new seal into the housing. Be sure you put it in the correct direction with the lips facing the piston!


It can be tricky getting the seal fully seated. Just be sure when you have it in that it is all even and smooth. You should be able to see about 1/16" of the lip all around.

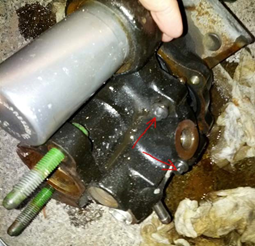
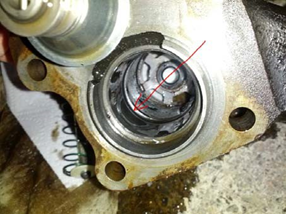
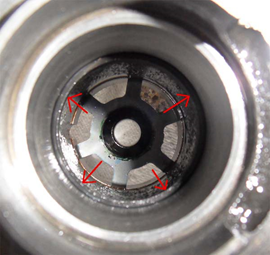
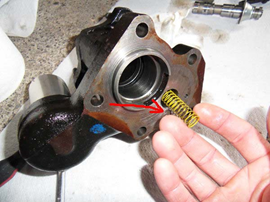
Once the new seal is in, you can start re-assembling. If any parts sprung out, be sure to p t them back correctly. The yellow spring goes into this small hole. There is also a small valve that can dislodge itself, my red arrow is pointing to this. My middle finger is covering some of it up. If it fell out, be sure to put it back in the correct way with the three dots facing out.

Put the unit back together in reverse order